Homemade Hot Cocoa: Achieve Rich & Creamy Perfection
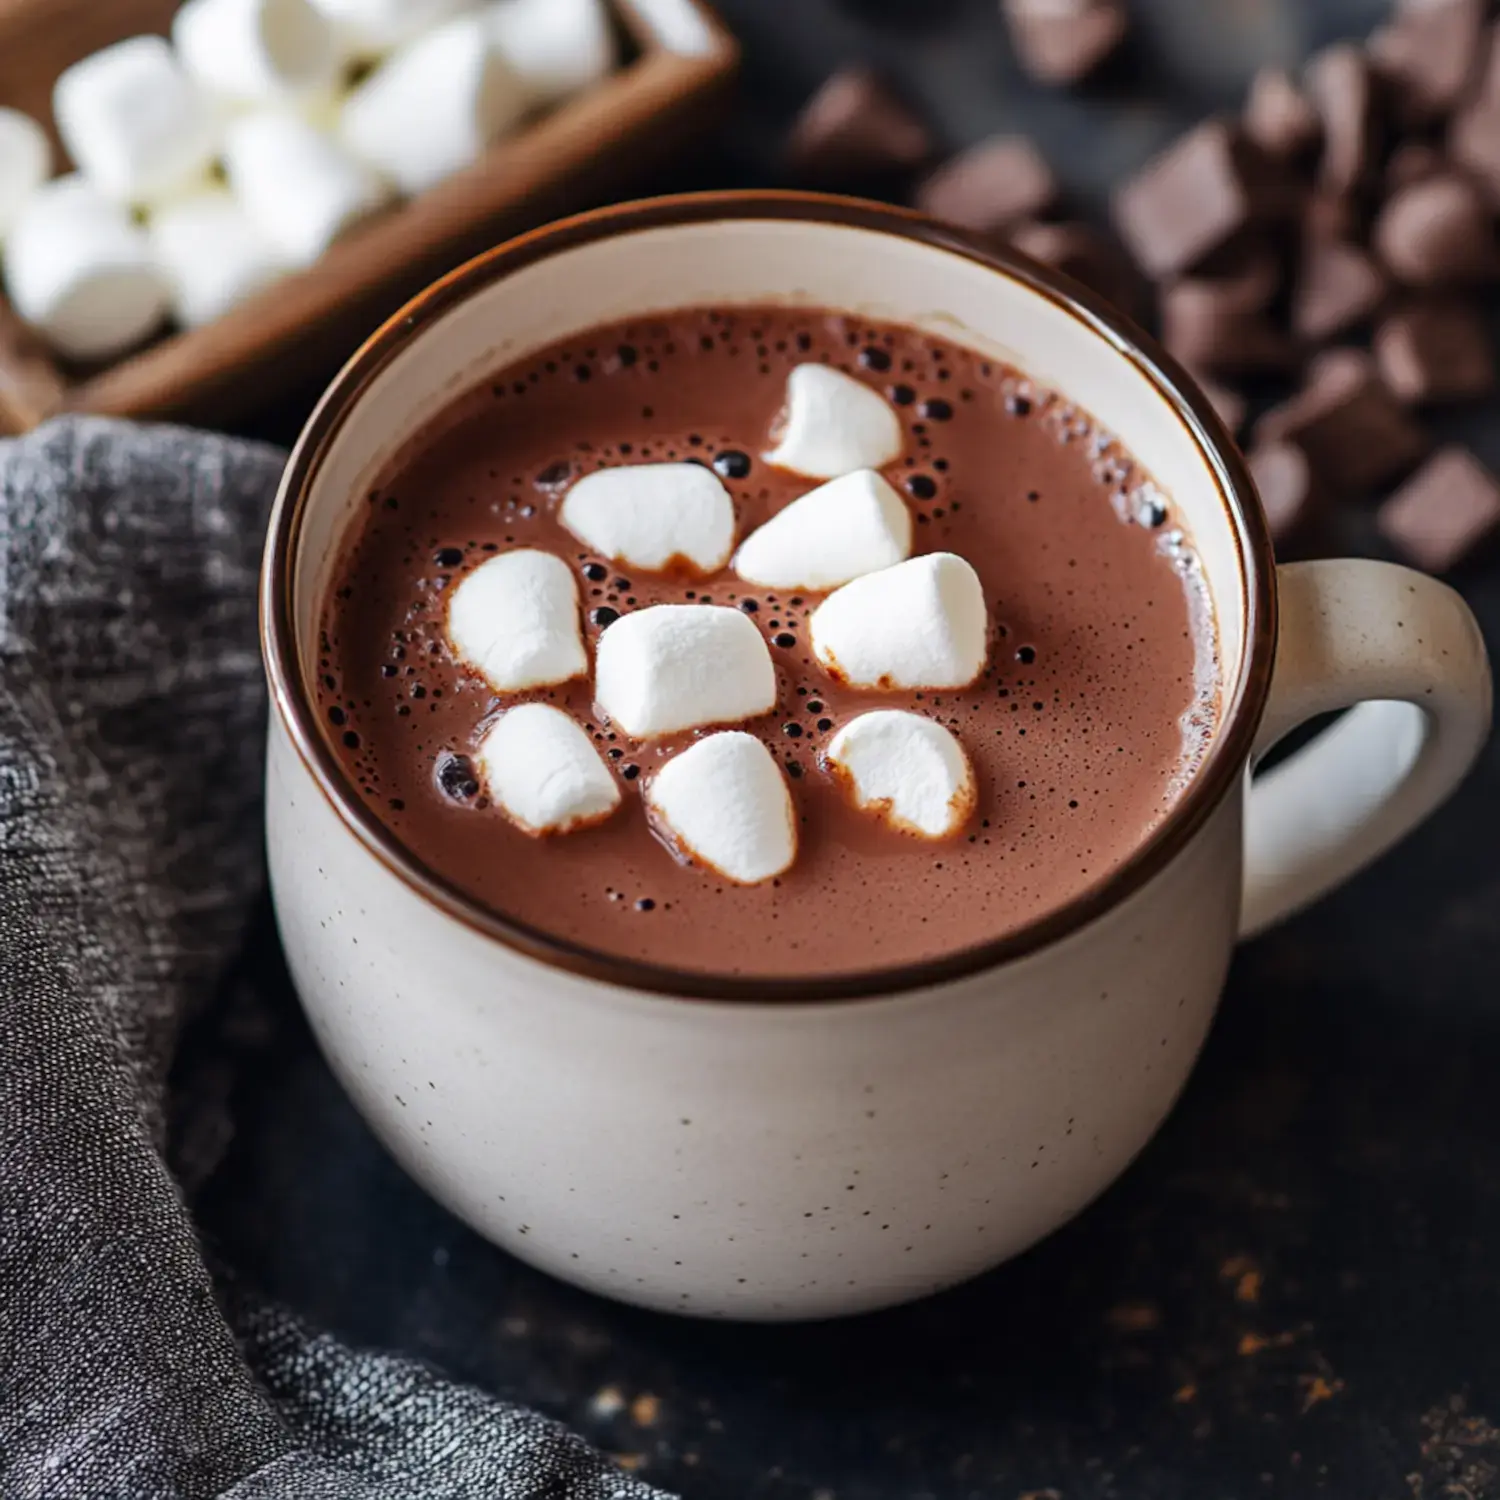
There’s an undeniable magic to hot chocolate. It’s a nostalgic hug in a mug, a comforting companion on chilly days, and a simple indulgence that transcends age. While store-bought mixes offer convenience, nothing compares to the deep, luxurious flavor and velvety texture of homemade hot cocoa. But what if you could take that beloved classic and elevate it to an entirely new realm of decadence? We’re talking about an experience so extraordinary, so utterly delightful, it redefines your expectations: a truly
over the top hot chocolate recipe.
Forget plain marshmallows; prepare for a spectacular creation that will make eyes widen and spirits soar. Whether it’s after an afternoon of holiday baking, a cozy movie night, or simply a moment when you crave something truly special, crafting this rich and creamy perfection is an experience in itself. Join us as we unlock the secrets to a hot chocolate that’s not just delicious, but unforgettable.
The Foundation: Crafting Your Rich & Creamy Hot Cocoa Base
The journey to an "over the top" hot chocolate begins with an impeccable base. This isn't just about mixing cocoa powder with hot milk; it's about building layers of flavor and achieving a silky-smooth consistency that feels like pure luxury. Skip the packets and embrace the simple joy of creating something truly superior from scratch.
Essential Ingredients for Unbeatable Flavor
The quality of your ingredients directly impacts the final taste and texture. Choose wisely!
*
Premium Cocoa Powder: This is the heart of your hot chocolate.
* ***Natural Cocoa Powder:*** Often lighter in color and more acidic, offering a fruitier, sharper chocolate taste. Great for a classic hot chocolate.
* ***Dutch-Processed Cocoa Powder:*** Darker, less acidic, and has a smoother, mellower chocolate flavor. It dissolves beautifully and contributes to a richer, darker beverage. For an "over the top" experience, Dutch-processed is often preferred.
*
Sweetener: Granulated sugar is standard, but don't shy away from experimenting. A touch of brown sugar can add a subtle caramel note and deeper complexity. Adjust to your personal preference; some prefer a less sweet, more chocolate-forward drink.
*
Milk: This is where the "creamy" aspect truly shines.
* ***Whole Milk:*** The gold standard for a rich hot chocolate. Its fat content provides body and a luxurious mouthfeel.
* ***Half-and-Half or Light Cream:*** For an even more indulgent experience, swap a portion of the milk for half-and-half or light cream.
* ***Non-Dairy Alternatives:*** While delicious, be aware that almond, soy, or oat milk will alter the creaminess and flavor profile. Oat milk tends to be a good contender for its natural creaminess.
*
A Pinch of Salt: Don't skip this! A tiny pinch of fine sea salt enhances the chocolate flavor, balances sweetness, and prevents the drink from tasting flat. It’s a secret weapon for deepening flavor.
*
Vanilla Extract: A splash of pure vanilla extract at the end adds warmth and rounds out the chocolate notes beautifully.
*
Optional: Melted Chocolate: For ultimate decadence, melt a small amount of high-quality dark or semi-sweet chocolate directly into your base. This provides an unparalleled depth of flavor and a thicker, more luxurious texture.
Mastering the Brewing Technique
Crafting the perfect base is a simple process, but technique matters.
1.
Combine Dry Ingredients: In a medium saucepan, whisk together your cocoa powder, sugar, and pinch of salt. This prevents lumps and ensures even distribution of flavor.
2.
Create a Paste: Add a small amount of milk (about 1/4 cup) to the dry mixture and whisk vigorously until a smooth paste forms. This crucial step further eliminates lumps before adding the rest of the liquid.
3.
Gradually Add Milk: Slowly pour in the remaining milk, whisking continuously. This helps integrate the paste smoothly into the liquid.
4.
Gentle Heating: Place the saucepan over medium heat, stirring frequently. Heat until the hot chocolate is steaming and hot, but *do not boil*. Boiling can scorch the milk and diminish the delicate chocolate flavor. The goal is gentle warmth that releases the cocoa's full potential.
5.
Finish with Flavor: Remove from heat and stir in the vanilla extract. If using melted chocolate, add it at this stage and whisk until fully incorporated and smooth.
6.
For Silky Smoothness: For an absolutely impeccable, silky-smooth finish, you can carefully pour the hot chocolate through a fine-mesh sieve directly into your mugs. This catches any tiny remaining cocoa particles for an ultra-refined drink.
Elevating Your Mug: The "Over the Top" Experience
Now for the spectacular part – transforming your rich, creamy homemade hot cocoa into a truly
crafting magical over-the-top hot chocolate with toasted fluff. This is where simple indulgence becomes a show-stopping dessert in a cup.
The Magic of Toasted Marshmallow Fluff
This is the quintessential element of an "over the top" hot chocolate. Marshmallow fluff (or large marshmallows) takes on a completely different character when toasted – gooey, caramelized, and intensely flavorful.
*
Applying the Topping: Generously spoon several tablespoons of marshmallow fluff onto the surface of your hot chocolate. Don't be shy! Use the back of the spoon to spread it gently to the edges of the mug, creating an even layer. If using large marshmallows, arrange them closely together to form a "cloud" on top.
*
Kitchen Torch Technique: This is the easiest and most effective method for achieving that perfect golden-brown, slightly charred finish.
1. Hold the kitchen torch a few inches above the marshmallow fluff.
2. Move the flame slowly and evenly across the surface, watching as the fluff bubbles, browns, and caramelizes.
3. Continue until you reach your desired level of toasting – from lightly golden to deeply browned. Be careful not to burn it!
*
Broiler Method (No Torch? No Problem!): If you don't have a kitchen torch, your oven's broiler can come to the rescue.
1. Line a baking sheet with parchment paper.
2. Place your marshmallow-topped mugs (ensure they are oven-safe!) or a grouping of large marshmallows on the sheet.
3. Place the baking sheet under a preheated broiler. Keep a *very close eye* on them – marshmallows toast incredibly quickly under the broiler.
4. Broil for just 1-2 minutes, turning the sheet if necessary, until the marshmallows are golden and slightly melted.
5. Carefully remove the mugs/marshmallow cloud with a spatula and transfer the toasted marshmallow "cloud" onto your hot chocolate.
The caramelization process adds a deep, smoky-sweet note that perfectly complements the rich chocolate base, creating a truly unforgettable sip.
Beyond the Fluff: Ultimate Garnishes & Additions
Why stop at toasted marshmallows when you can layer on even more indulgence? This is where your creativity can truly shine.
*
Whipped Cream: A dollop of freshly whipped cream beneath or beside the toasted marshmallow fluff adds another layer of creamy texture.
*
Chocolate Shavings or Drizzle: Grate some dark chocolate over the top or drizzle with a rich chocolate syrup.
*
Candy Canes or Striped Straws: A candy cane makes an excellent peppermint-flavored stir stick (especially festive!), or opt for a fun red and white striped straw to navigate through all that glorious toasted fluff. As the reference suggests, you might want both!
*
Spice it Up: A sprinkle of cinnamon, nutmeg, or even a tiny pinch of cayenne pepper (for a Mexican hot chocolate twist) can add exciting complexity.
*
Flavor Extracts: Add a few drops of peppermint, almond, or orange extract to your hot chocolate base for a flavored twist.
*
Sprinkles or Mini Chocolate Chips: For a playful touch, especially if serving to children (or the young at heart!).
Homemade vs. Mix: A World of Difference
While convenience has its place, the experience of homemade hot cocoa, especially an
elevate your holidays: unforgettable toasted marshmallow hot cocoa, is vastly superior to any store-bought mix.
* **Control Over Ingredients:** You dictate the quality of cocoa, the type of milk, and the level of sweetness, avoiding artificial flavors or excessive sugars found in many mixes.
* **Superior Taste and Texture:** There's no comparison to the rich, deep chocolate flavor and silky, creamy texture achieved with fresh ingredients. It’s fuller, more nuanced, and genuinely satisfying.
* **The Joy of Creation:** Part of the magic is in the making. The aroma filling your kitchen, the anticipation, and the pride of serving something truly special you’ve crafted yourself. It turns a simple drink into an event.
Pro Tips for Your Perfect Over the Top Hot Chocolate
To ensure every mug is a masterpiece, keep these expert tips in mind:
*
Quality Matters: Invest in good quality cocoa powder and, if using, good quality chocolate. It makes a significant difference in flavor.
*
Prevent Lumps: Always mix cocoa powder and sugar with a small amount of cold liquid or directly with each other before adding the rest of the milk to create a smooth paste. This prevents stubborn lumps.
*
Adjust Sweetness: Taste your hot chocolate base before adding toppings. You can always add more sugar if needed, but you can’t take it away.
*
Make Ahead: You can prepare the hot chocolate base ahead of time and store it in the refrigerator for 2-3 days. Gently reheat it on the stovetop over low heat, stirring frequently, when you're ready to serve. Then, add the "over the top" garnishes fresh.
*
Serving Suggestions: Pair your luxurious hot chocolate with homemade Christmas cookies, gingerbread, or simply enjoy it on its own for a moment of pure bliss. It’s especially wonderful after outdoor winter activities or during a relaxed evening by the fireplace.
Conclusion
There you have it – the definitive guide to crafting not just a rich and creamy homemade hot cocoa, but an extraordinary, "over the top" masterpiece that will enchant and delight. From the foundational perfection of the chocolate base to the spectacular theater of toasted marshmallow fluff, every step contributes to an experience that transcends a simple beverage. So, gather your ingredients, fire up that kitchen torch (or broiler!), and prepare to create a magical concoction that truly is better than anything you can buy. This winter, let your homemade hot chocolate be the star of your cozy moments, creating memories as warm and sweet as the drink itself.